

Make your marketing team happy by customizing Broadcat pieces—it’s super easy to do. Check out the instructions below to see two simple ways to incorporate your company’s brand: adding your logo and updating the colors.
Add your logo:
- Open the folder on your desktop with the logo you want to use.
- Make sure your PowerPoint file is open and visible.
- Click, and hold-down on the logo, and drag it onto the PowerPoint file.
- If there is a logo placeholder already there, here’s how you can replace an image.
Tip: We recommend placing the logo in either of the top or bottom corners. Placing it near the title is a great way to set the tone from the start. Or, you could have it go with the contact information at the bottom and use brand recognition to support awareness of your resources.
Change big color blocks:
This is also a really powerful way to make this look like it fits in your brand! And it’s even easier than adding your logo. Look at this example, where we change only the heading and the footer to match colors used in the logo. (If you’re not sure how to do that, check out a more in-depth post on how to change shape colors!)
Tip: You might not need to change every color in the file. Start with the largest color blocks, and then move on from there. If you feel it needs more, you can change the background colors in the icons as well!
If your logo has a color background that needs to be removed:
Option 1:
- Select your logo

- Under the Picture Format tab, click the arrow next to the Color option in the toolbar

- From the drop down menu, select Set Transparent Color
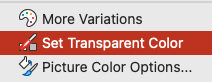
- The cursor will turn into a brush. Click on the area you’d like to remove

Option 2:
- Select your logo
- Under the Picture Format tab, click Remove background

PowerPoint will automatically select the background to be removed. If you need to select more or less areas to be removed, use the options from the top toolbar to adjust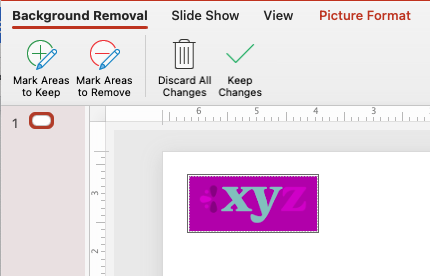
3. Click Keep changes