-1.png)

Need to get a lot of messages across in a short amount of time? You can use our email signatures to create a GIF! And, all you need is PowerPoint. Let’s get started.
Creating a GIF in PowerPoint
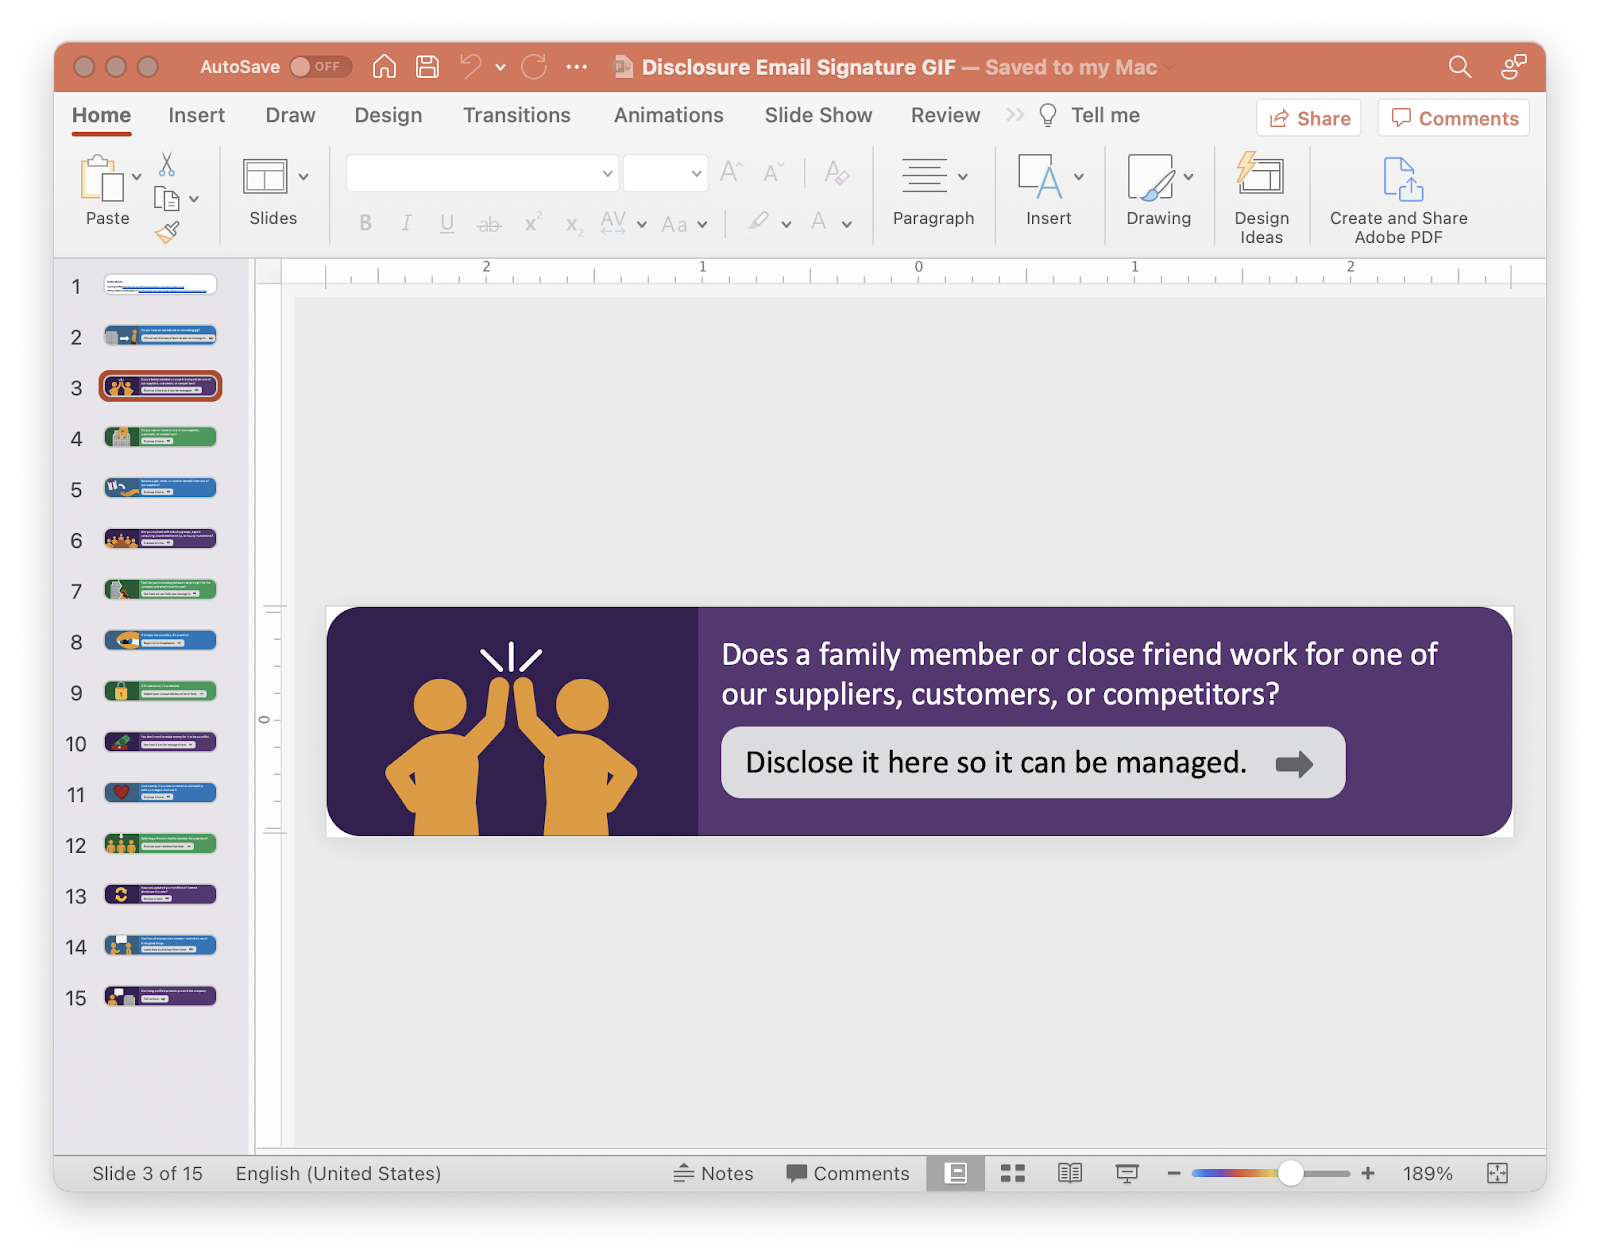
- Create a copy of your email signatures file from Design Club and open it. We’re using our Conflict of Interest email signatures set.
- Delete any slides you don't want to include in your final GIF. We recommend keeping 4 to 5 slides at most so your file sizes stay small. Choose slides with messages that go together for a more effective GIF.
- Once you are ready to create your GIF, select “Export” from the “File” menu. Then choose “Animated GIF” in the “File Format” drop down menu.
- Now you can select how long you would like each slide to be visible by adding a number in the field “Seconds spent on each slide”. Try to keep the total time at or under 15 seconds.
- That’s all there is to it! Once the GIF reaches the last slide, it will automatically loop from the beginning.


Give this a try with one of our email signatures and get a broader message out without having to spend the time to switch them out periodically.
Not sure how to add an image to your email signatures? Check out our how-to here!
Wanna get fancy in Photoshop? We've got you...
Creating a GIF in Photoshop
If you're looking to have more control over how many times the GIF loops, or even if it loops at all, you’ll need to work in Photoshop. The next steps will show you how!
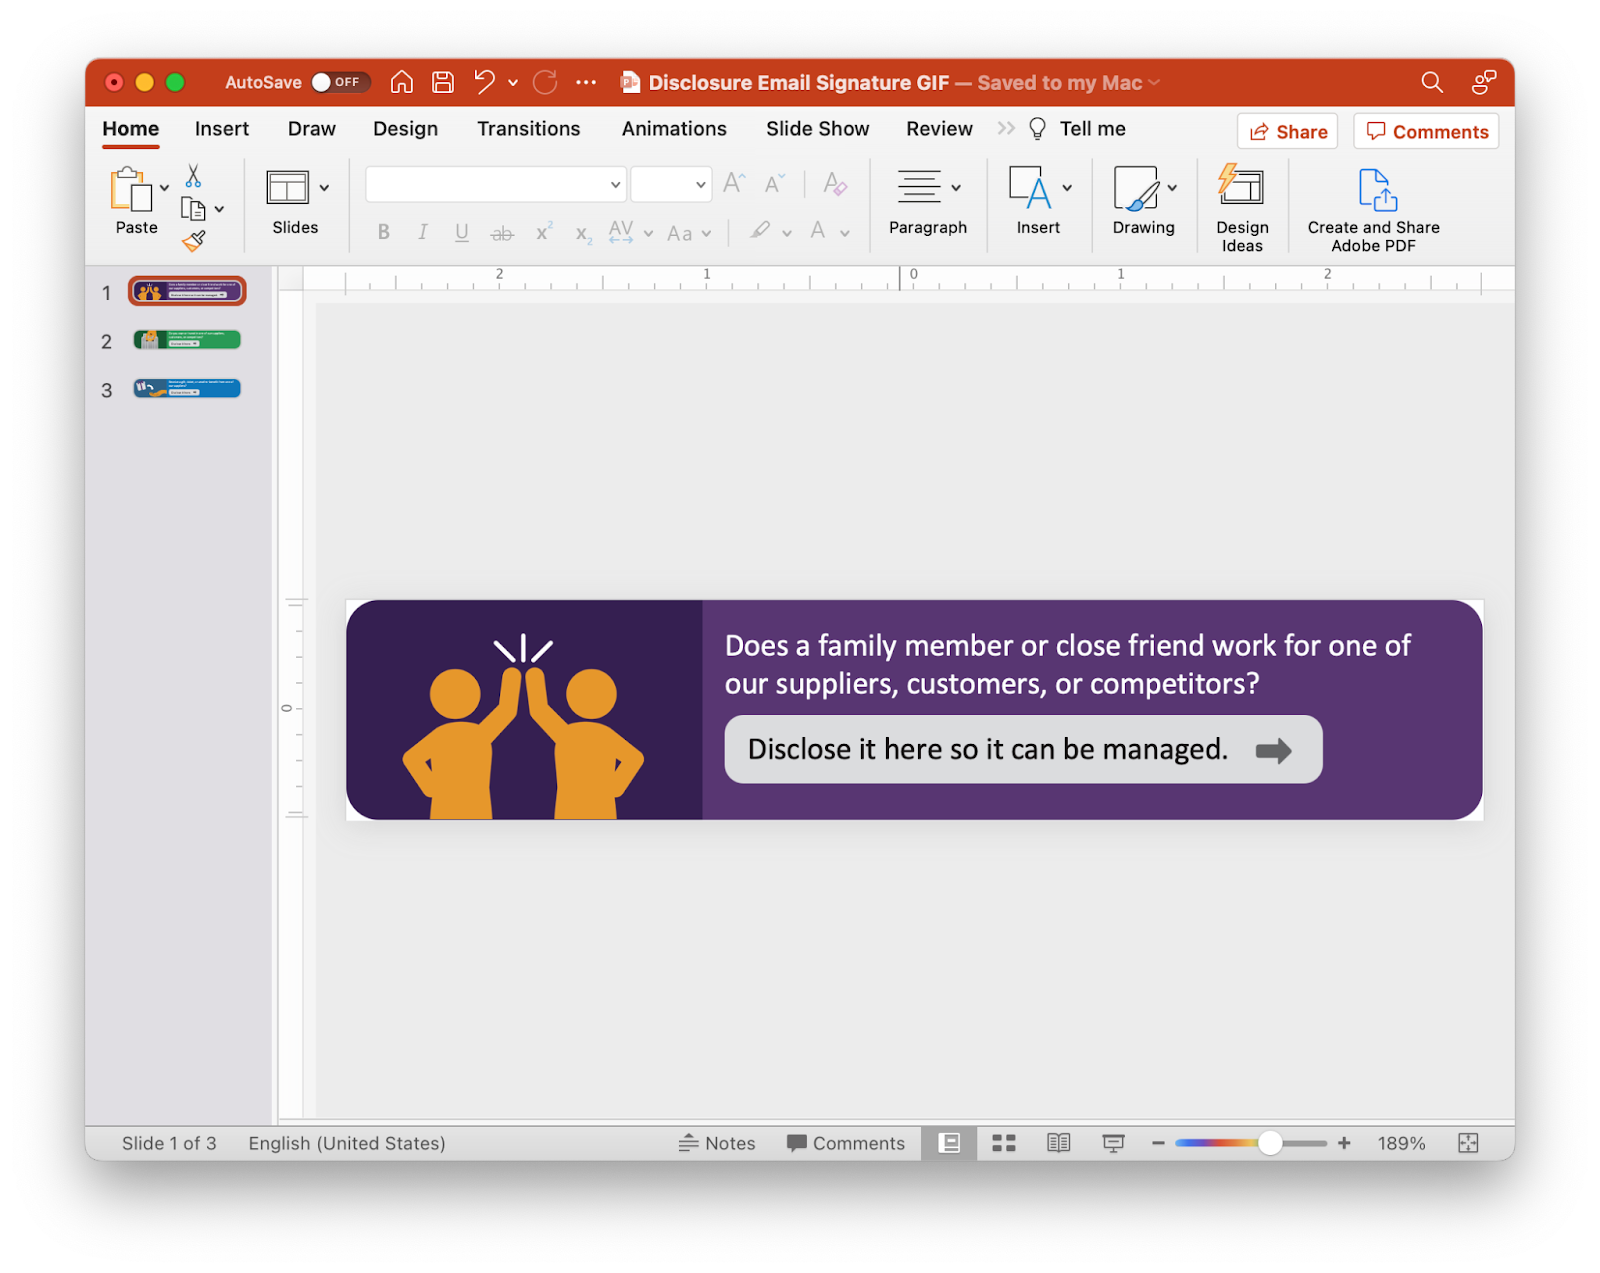
- Create a copy of your email signatures file from Design Club and open it. Now delete all of the slides you don't want in the final GIF. Then export the remaining signatures as PNGs.
- Start photoshop and in the “File” menu hover over “Scripts”; then select “Load files into stack”. This will create a new document with all of the images you exported as layers in one file.
- Now highlight all of the slides you exported then press “Open”.
- All of the signatures should now be in different layers, and ready to make into a gif.
- Here comes the fun part! You’ll need to open timeline controls by clicking on the “Window” menu and selecting “Timeline”.
- With the “Timeline” control window open, click on “Create Frame Animation”. This will create the first frame of your animation.
- Create the next frame by clicking on the “+” plus button, then hide all of the layers you dont want on that frame. Repeat this step for all of the slides in your animation.
- You can edit the amount of time each slide is visible by changing the setting on each slide. Click on the arrow under each slide and choose a time.
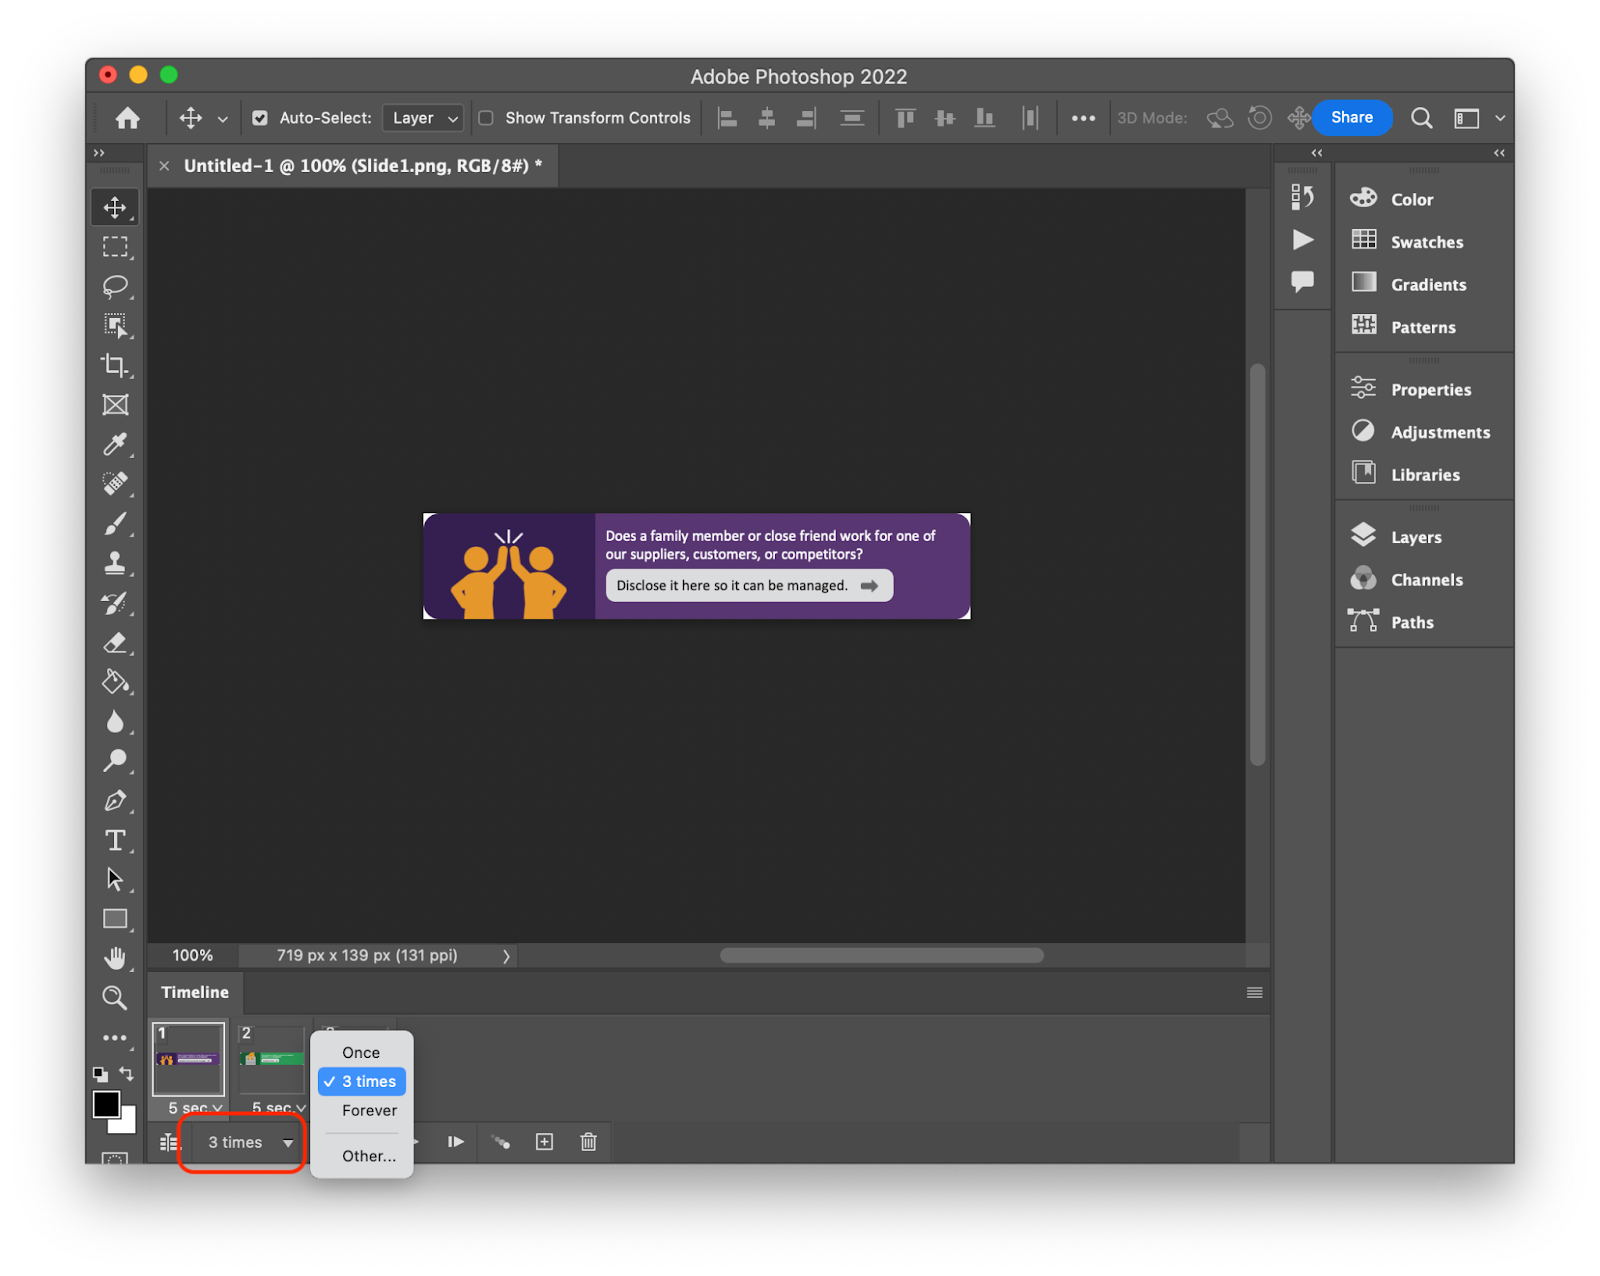
- Finally, decide how many times your GIF will repeat (or loop), by choosing “Once”, “3 times”, “Forever”, or “Other”. Selecting “Other” will let you customize the number of times the gif loops. We recommend 3 times, so that your employees get a chance to see them all, but aren’t distracted while reading your email—we don’t want that!
- Now you can export this into a GIF file that will go in your email signatures. In the “File” menu hover over “Export”, and then choose “Save for Web”.
- In the “Save for Web” dialog window, change the preset to “GIF 128 No Dither”.
- If you would like to have a transparent background, change the “Matte” to “None”.
- Now save the GIF in a designated folder, and you're done!


New to Broadcat? Hey, thanks for checking us out! You may have found this page while searching for ways to add a GIF to email signatures. If so, we hope this info is helpful for you! If you work at an organization which has a compliance department, be sure to let them know about us!